Silver Polishing
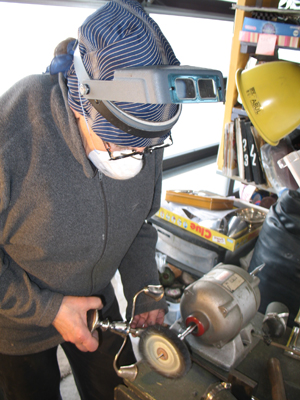
Each spoon, fork, knife, candlestick, or silver hollowware object is polished one at a time with buffing wheels from one inches to six inches. A buffing compound is applied to the buffing wheel to remove tarnish and scratches. This is hard, dirty work but it will vastly improve the appearance of your sterling silver, silver plate, or brass.
While you can polish your silver at home using a quality silver polish, the polishing job I can do for you involves significantly more effort and produces a remarkable transformation.
CLICK HERE to view more examples of polishing sterling silver.
A recent quote from a customer said, "Thank you so very much for your superb workmanship! Our candlesticks never have looked so beautiful!”
Contact me for a guestimate by sending photos to my email.
Click here to review Frequently Asked Questions and Answers about silver.
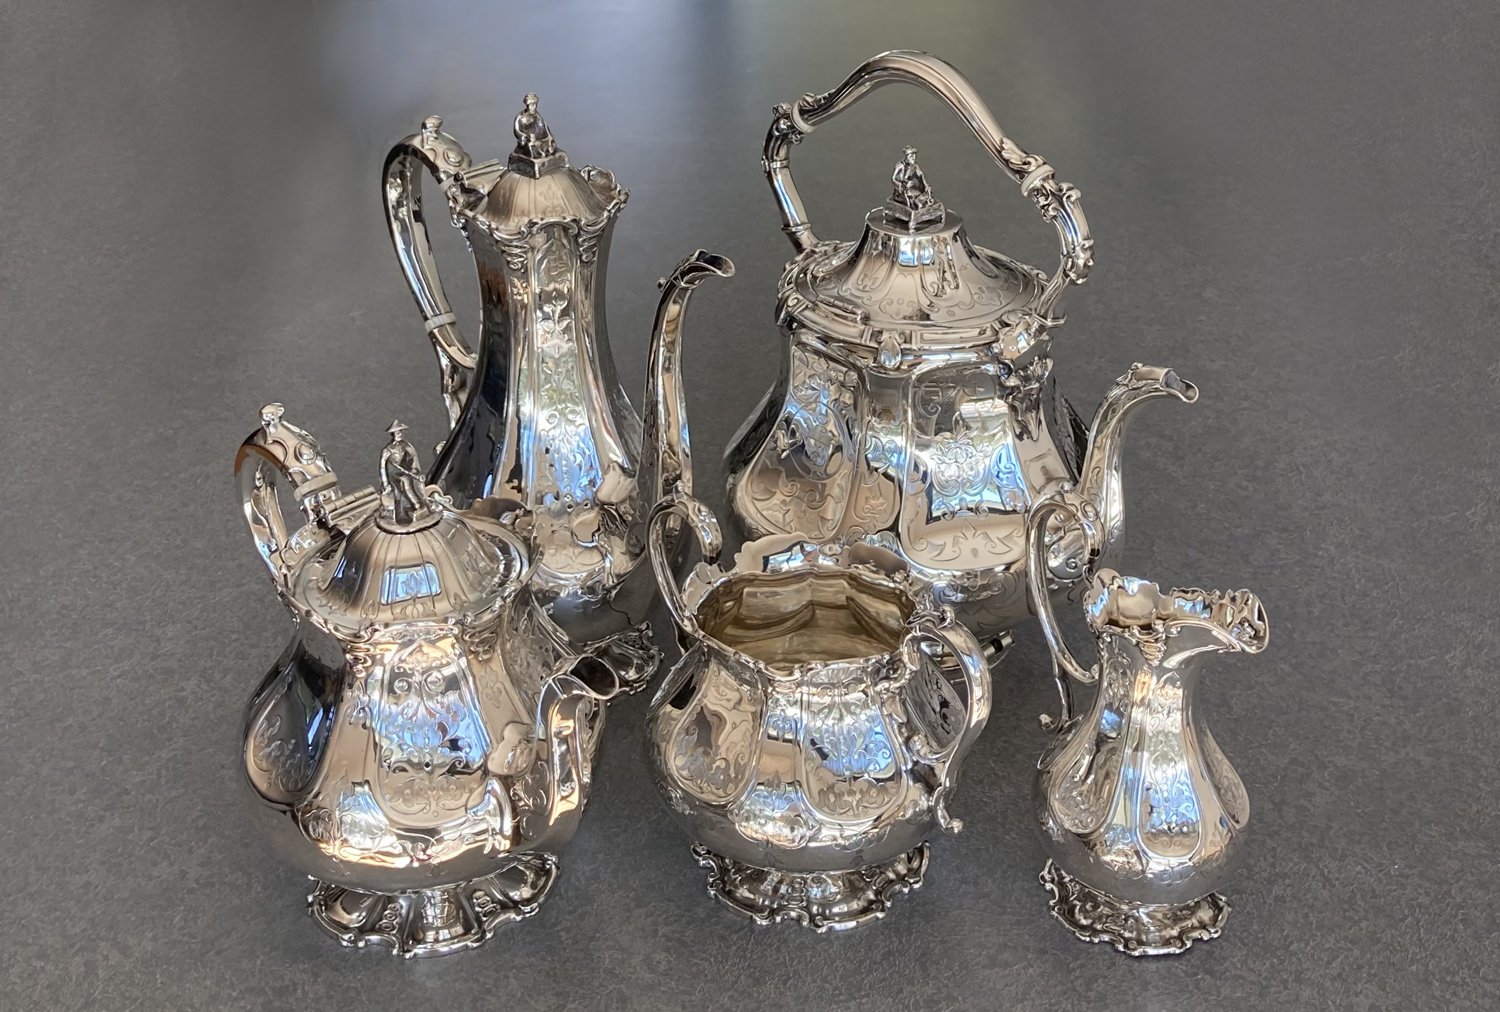
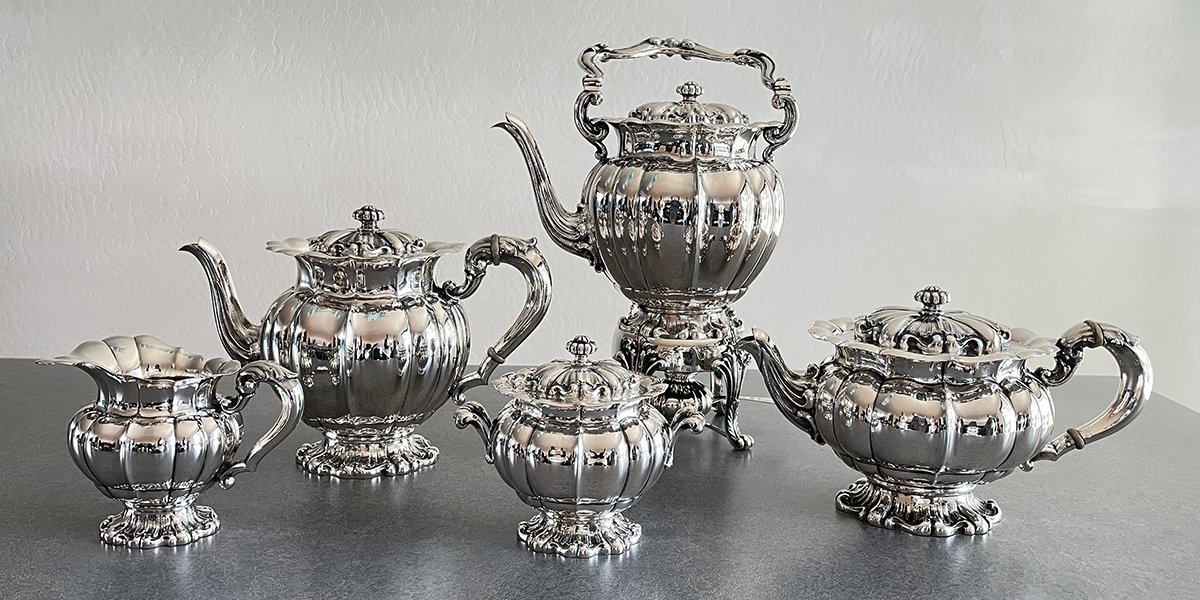
EARLY 20TH-CENTURY ITALIAN SILVER TEA SET
This 5 piece tea set includes a hot water kettle, coffeepot, teapot, sugar, and creamer. It took a lot of work to remove the dark black tarnish.
Polishing Sterling silver Sculpture
STERLING SILVER Tablescape African Baobab Tree
The details and texture of this sterling silver African Baobab tree sculpture were polished to be bright and white the way the customer wanted. It took days. This tree is much larger than you would expect and very heavy. I got it polished in time to accommodate the clients upcoming deadline.
Christopher Nigel Lawrence STERLING Silver Bowl with Gold Plating
This amazing late 20th-Century bowl is a masterwork by British silversmith Christopher Nigel Lawrence. It was tarnished and hadn’t been polished for 10 or more years. When significant pieces of silver like this arrive in my studio, they are given top priority to be returned as quickly as possible.
Polishing Antique Sterling Silver
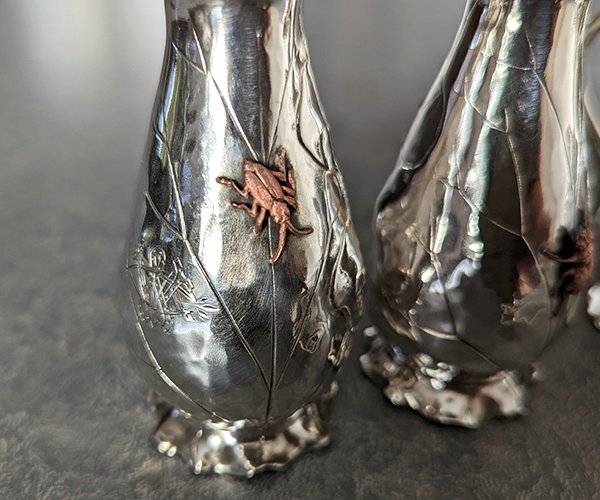
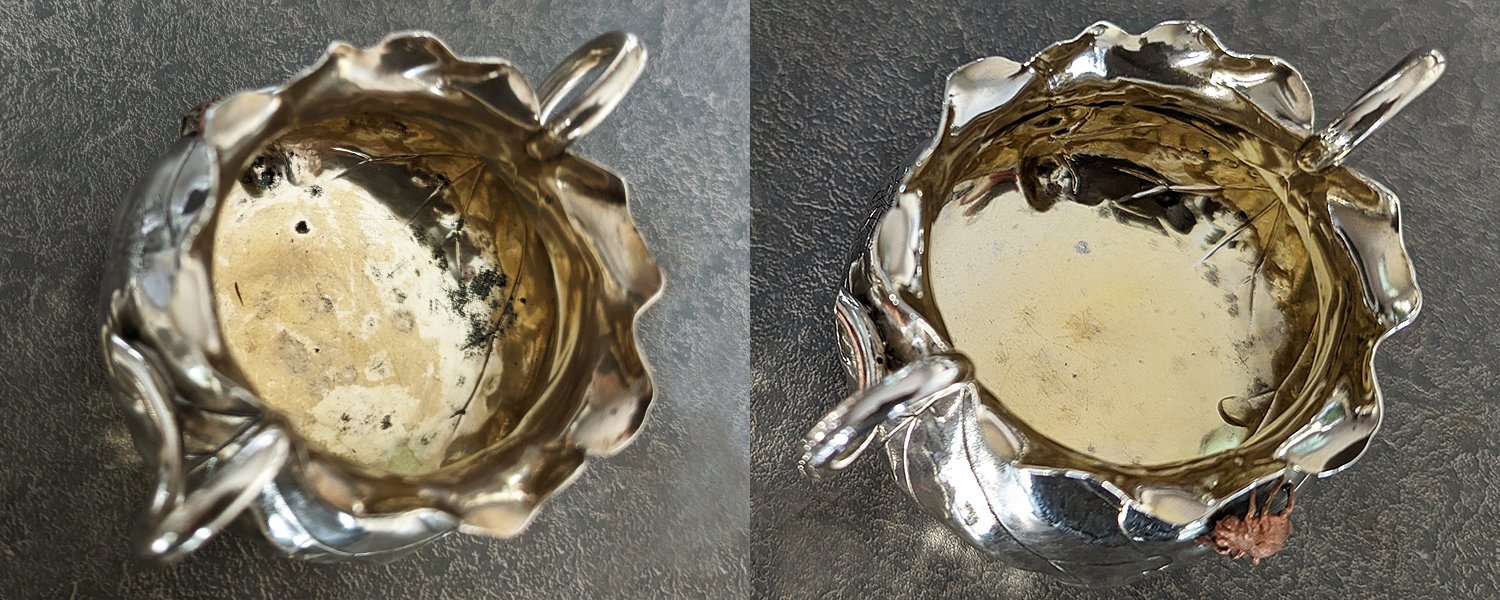
STERLING Silver Salt and Pepper Shakers, Creamer, Sugar Bowl and Tongs with copper insects
In the late 19th century, Japanese metalwork had a significant design influence on Western silver with the combination of silver, gold, brass, and copper. very often with botanical motifs. This is exemplified in this set by the addition of copper insects to the silver design.
The set had been stored inappropriately and leftover salt crystals etched black spots on the sterling. (You can see the dark black spots in the “before” photos to the right and below.)
The set was polished very carefully and precisely to remove this damage to the surface, but keep the soft hammered texture indicative of the arts and crafts influence.
The salt also damaged the gold plating on the inside of the sugar bowl. I was able to improve the appearance significantly, but the only way to completely remove the damage would be to polish the interior aggressively, and then have new gold plating.
Always wash and dry your silver if it is on the table or near food. An invisible speck of food can cause significant damage during storage.
Always empty salt shakers: wash and dry before storage. Salt in particular is very damaging to all metals.
Polishing Sterling silver Holloware
Sterling silver bowl with ELABORATE detail
It doesn't matter whether your sterling silver bowl is big or small, elaborately detailed or plain, I polish everything.
CLICK HERE to view more examples of polishing sterling silver.
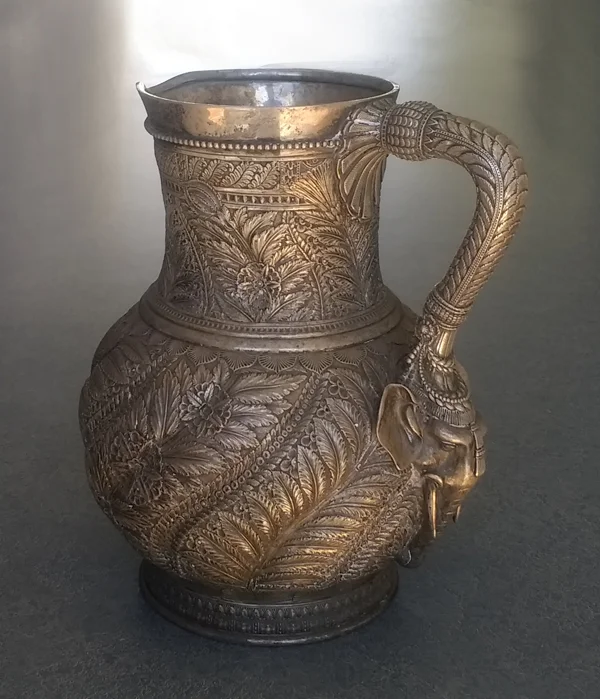
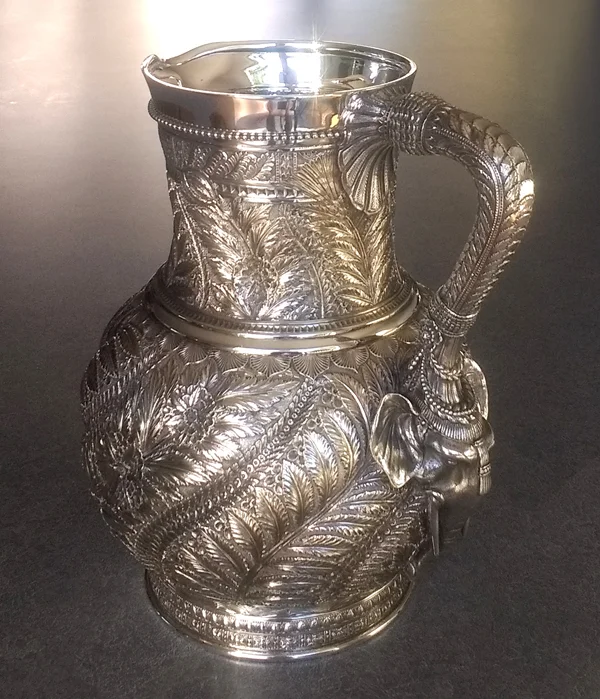
Sterling silver Tiffany Indian influence water pitcher
This elaborately detailed sterling silver water pitcher was dirty and tarnished with old silver polish in the crevices. Clean-up started with a good cleaning. I only "polished" the inside edge, smooth sterling, and wire details. This is perhaps the most amazing piece I ever worked on. The details of the floral pattern and elephant head at the handle all had remarkable fidelity.
CLICK HERE to view more examples of polishing sterling silver.
Polishing Sterling silver Box
sterling silver box covered with hand-engraved signatures
This box was polished extremely carefully to preserve the exquisite detail in the hand-engraved signatures.
CLICK HERE to view more examples of polishing sterling silver.
Polishing Applied silver on Glass
Applied Silver on Glass polished
The applied silver-on-glass sugar and creamer arrived black with tarnish. Yes, I can polish this silver as long as it is firmly attached to the glass. This is polished very slowly and carefully with tiny polishing wheels, but can not be responsible for glass or this applied silver. This is high risk even if I take great care.
Removing dents before polishing sterling
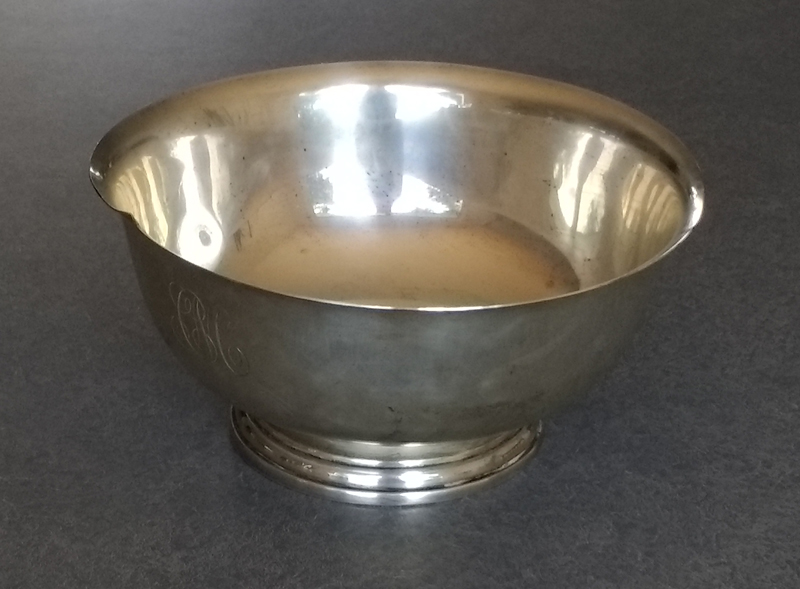
This sterling silver Revere Bowl arrived with the lip of the bowl dented and another dent in the side. The edge was restored to its original shape and the dent removed. The bowl was polished to the original highly polished 20th century finish.
Polishing candlesticks and candelabra
George Jense candlesticks (Comparison of Before and After Polishing)
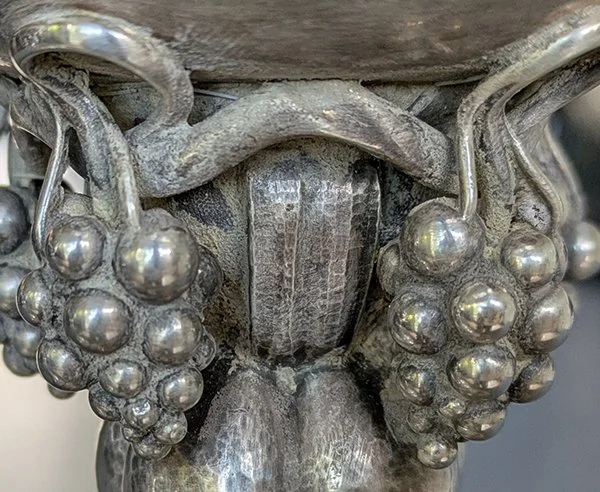
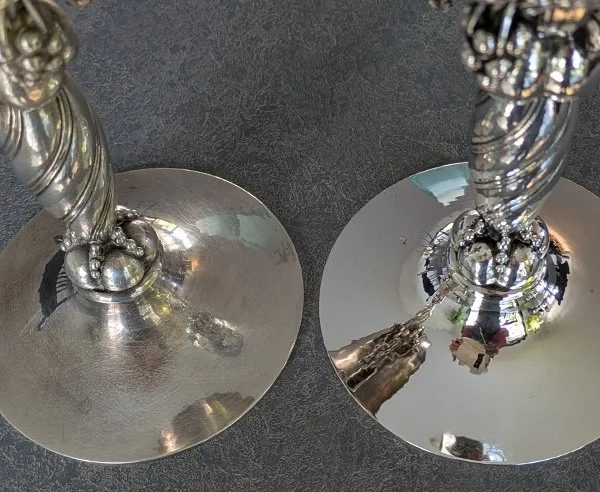
Both of these early 20th century Georg Jensen candlesticks arrived very badly scratched from a person using an abrasive scrubby to remove tarnish. In addition, the detailed design, especially around the grapes, was filled with old dried up silver polish.
The candlestick on the left (above) is scratched, tarnished and crusty with old silver polish. This is how both candlesticks looked when they arrived.
The candlestick on the right (above) is polished and fully restored. Learn how to hand polish silver correctly on my website.
In the photos (below) is a photo of the dried up silver polish crud. The next photo (below) is a comparison of the unpolished and polish bases.
BuccelLati candlesticks tarnished before polishing and after
CLICK HERE to view more examples of polishing sterling silver.
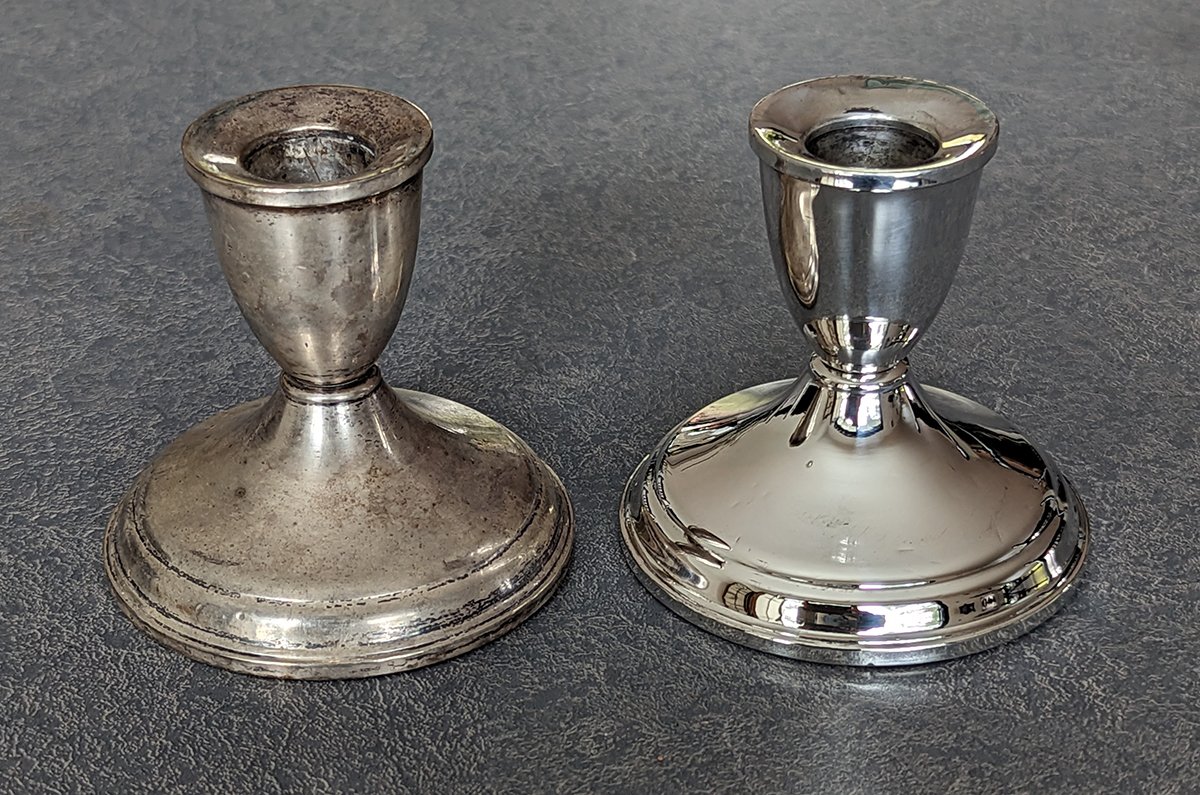
20th Century sterling silver candlesticks before and after candlesticks
This comparison shows a simple pair of 20th century candlestick before and after polishing. Professional polishing can make a huge difference in the appearance of your silver.
Professional Polishing for Candlesticks
I can polish your silver but this is not the same as hand polishing. I am using buffs from 1” to 6” with polishing compound. This is not a cost-saving measure.
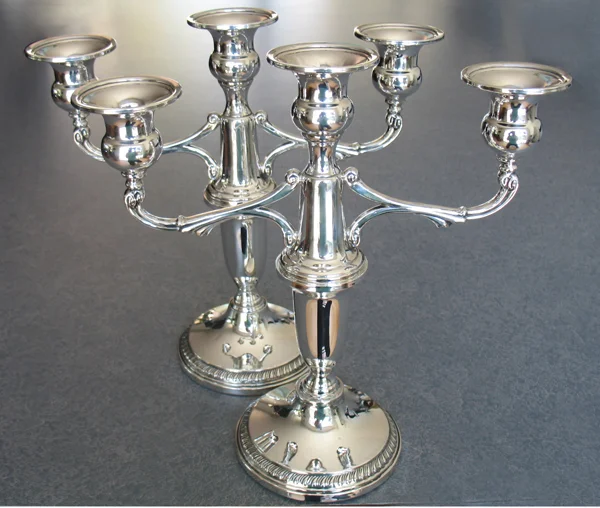
Sterling Silver Candelabra polished
Sterling silver candelabra polished. Take care when polishing candelabra arms to use a very gentle touch. Use make up pads and q-tips rather than a cloth to avoid pushing and pulling on the arms. When inserting candles support underneath the candle cup.
Click here to view candlestick and candelabra repairs and polishing.
Polishing Judaica
Sterling silver Menorah
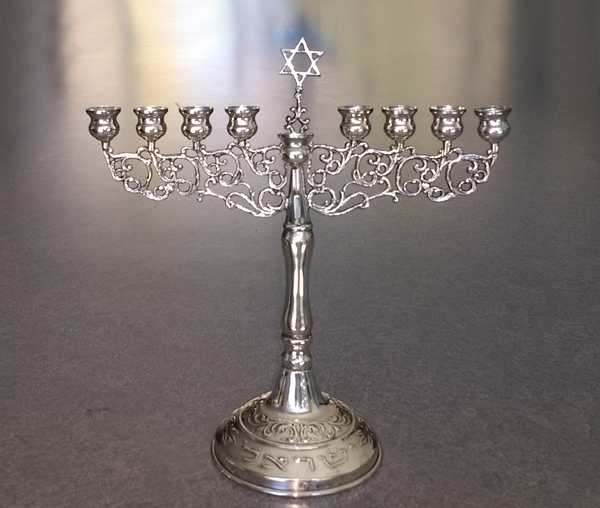
This sterling silver menorah was badly tarnished. A family treasure from the late 19th century or early 20th century, all it needed was a careful polishing to restore its appearance for the next generation. It has a spun and stamped stem with cast filigree arm structure.
Click here to view Judaica repairs and restoration
Sterling silver Kiddush cup before and after polishing
This Kiddush cup base was dented. After making the base round again, the Kiddush Cup was polished.
Kiddush Cup with Silver plated cast base and gold plated cup
Any Judaica that is silver plated or gold plated should be polished very carefully. Avoid abrasive clothes. Use cotton make up squares/ or cotton balls with silver polish. Q-tips are good for the details.
Removing Lacquer & polish
Silverplate candlesticks polished after removing old lacquer
These silver plate Art Nouveau candlesticks arrived tarnished with a filmy, irregular appearance because they had been lacquered to prevent tarnish. Lacquering silver and silverplate is not recommended. Over time the lacquer yellows and discolors. Wear and scratches allow the sterling underneath to tarnish, but it is impossible for the customer to polish them because of the lacquer.
Removing the old lacquer will restore the brilliant appearance of the silver.
Removing lacquer takes time but does not damage the silver. I remove the lacquer with patience and Q-tips so as you imagine this does cost more, but it is well worth the effort.
Forks, Knives and Spoons are called flatware. Polishing is all done by hand using a polishing machine and buffing compound. It is priced per piece. The cost depends on the condition of the flatware, whether it is sterling silver flatware or silver plate, and your expectations.
Click Here for more examples of polishing sterling silver flatware
Silverplate Urn with Frozen Spigot (before and after polishing)
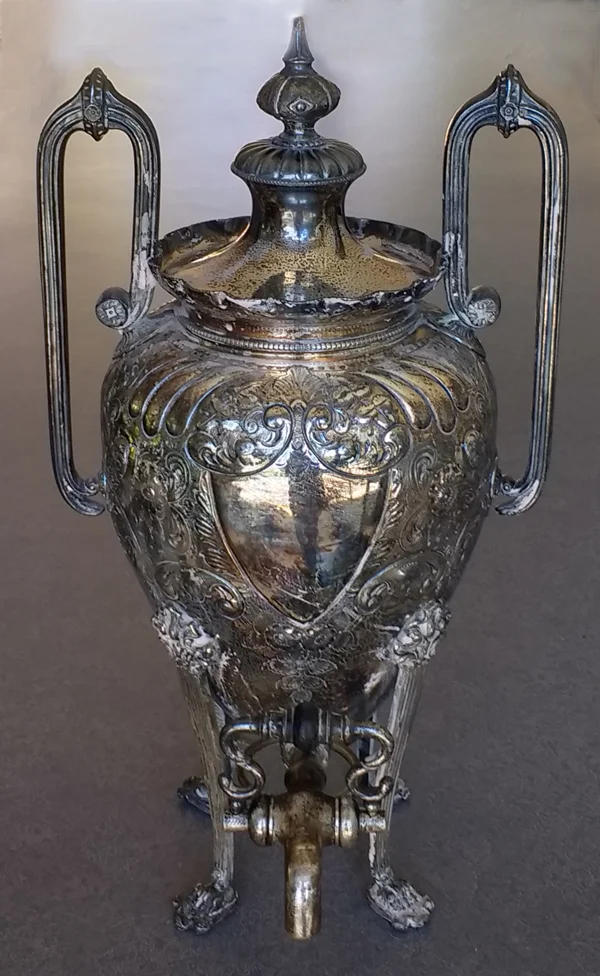
This silverplate urn arrived very badly tarnished and covered with a cloudy film from decades of cigarette smoke in the house. The goal when polishing silverplate is to preserve the plating with a very careful, skillful approach.
An additional problem was that the urn spigot was frozen and stuck. Spigots often get frozen from years of dried up crud from coffee or tea. Do not force them as this just bends the handle. A lot of careful attention, disassembly, repair and reassembly fixed this spigot. If you have an urn, always run a lot of hot clean water through the spigot to remove residue. Perhaps a little olive oil in water will help lubricate the spigot before storage. Rinse again before the next use.
Antique silver plate teapot sugar and creamer polished
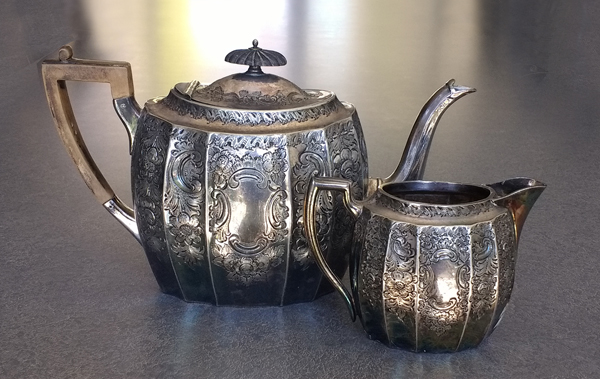
This silver plate teapot, sugar and creamer were badly tarnished (left photo) The wooden handle on the teapot seemed loose. By replacing the rivets the handle was much firmer. After carefully polishing the silver plate, the faceted design really reflected the light. The large sugar bowl indicated the customary use of a lot of sugar in tea during the 19th century/ early 20th century.
Click here to View more examples of polishing antique silver plate
Polishing 20th Century Silverplate
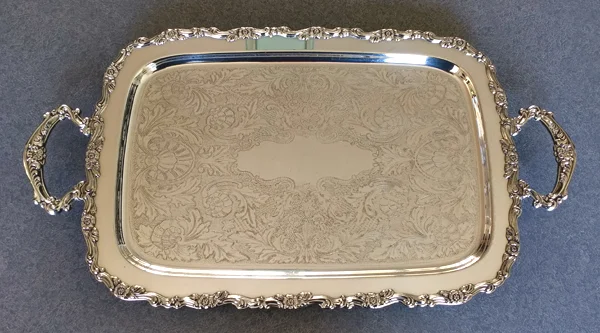
Polishing 20TH-CENTURY silver plate
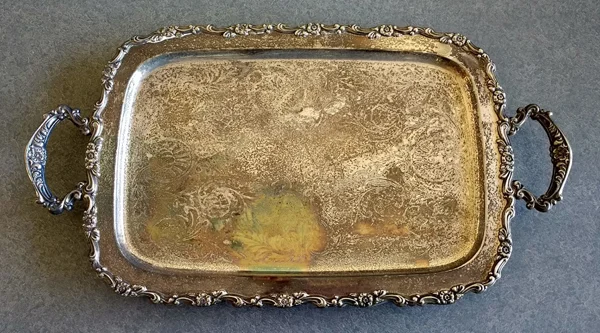
Polishing silver plate objects have an unpredictable outcome. This silver plate tray turned out so great it is hard to tell this is the same tray. If your silver plate is dark or black with tarnish that is a good sign there is enough plating to carefully polish it without new silver plating. Sometimes the silver plating is too worn that it can not be polished.
Indications of damaged silver plating are corrosion, a pitted surface, or the plating being worn down to the base metal which is brass, copper, or white metal. Send me a photo, and I will offer my best guess about what can be done.
Polishing brass and tin
New Mexican Tin Candlesticks Restored
These New Mexican Tin Candlesticks arrived with decades of grimy dust and dirt. In addition, they were broken and needed to be soldered back together. (I am an expert at working with tin.) After the repair and hours of buffing with tiny brushes they look amazing. All the original painted details were intact and untouched.
Brass 19th century Menorah
This cast brass Menorah is a 19th century East European family heirloom. It arrived with bad scratches from removing wax with a knife and the customer wanted to pass this down to her daughter with a renewed appearance. Remove wax with your fingernail only. CLICK HERE to view more Judaica repairs, polishing and restoration.
